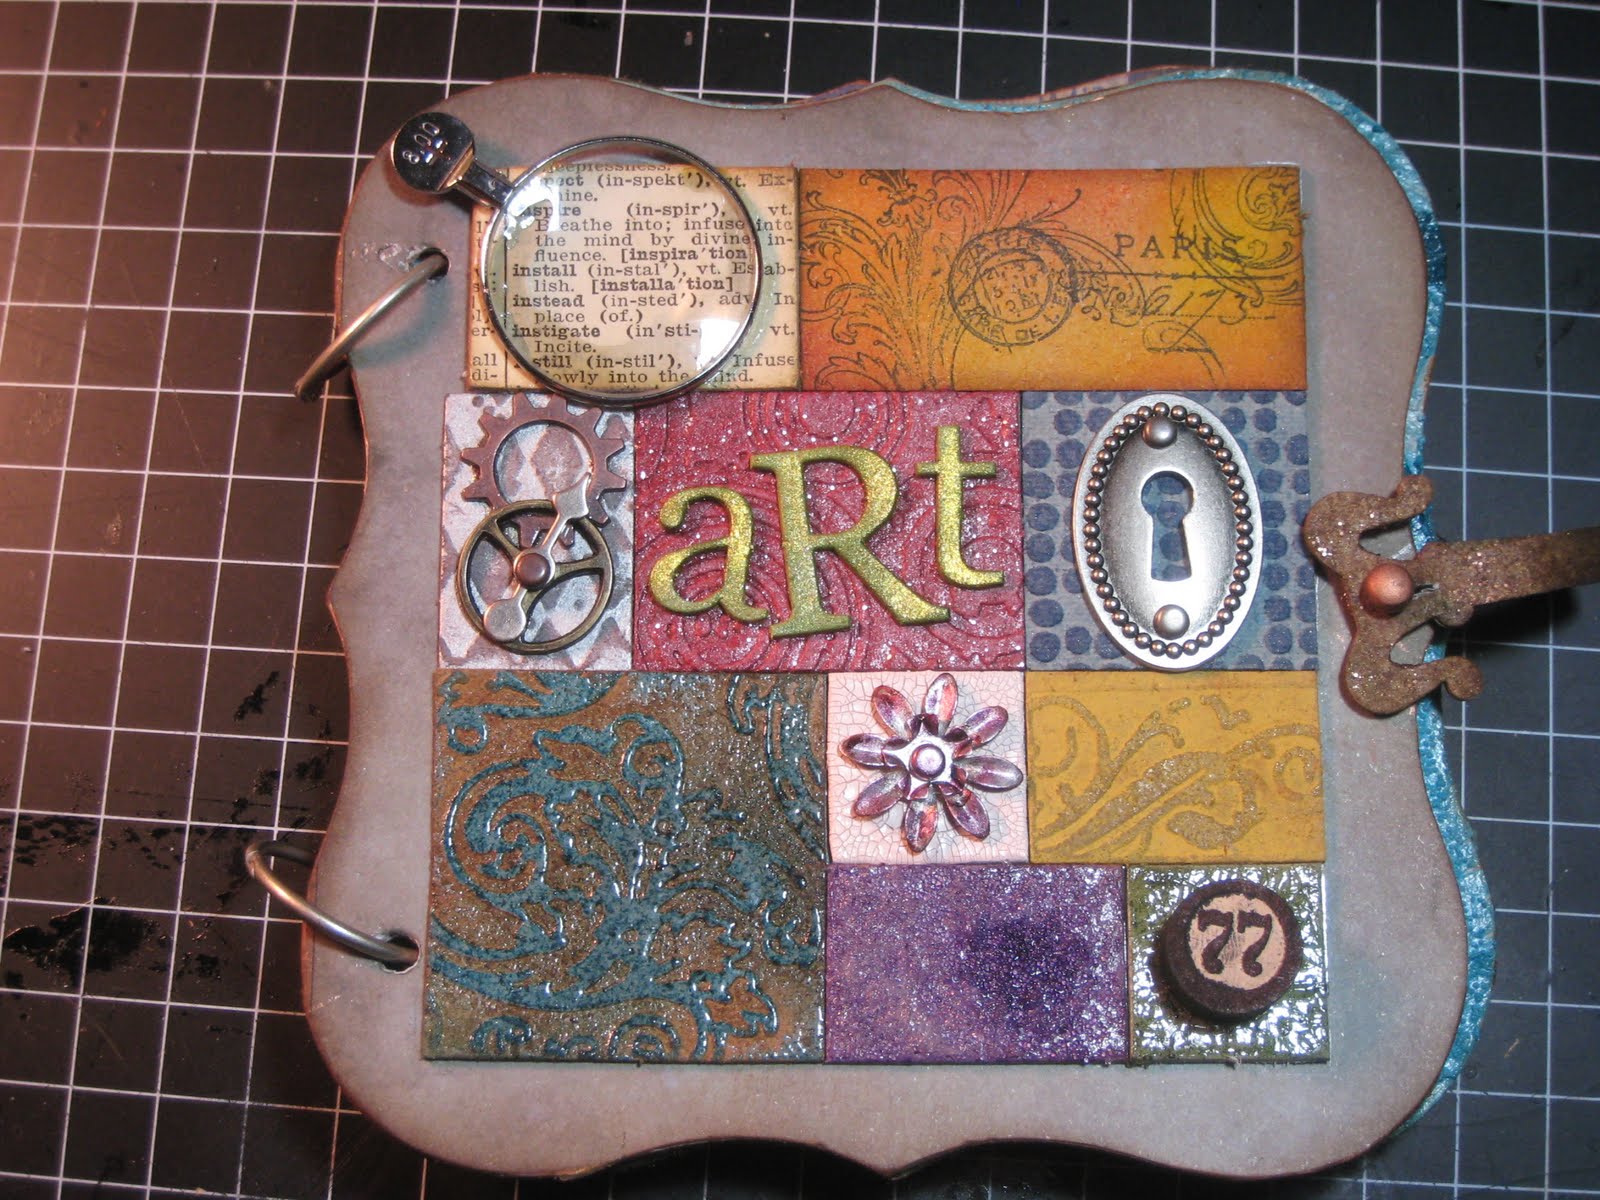
So, I hope you all enjoyed my blogiversary celebration month! I had so much fun! I want to thank all of you that read my blog and comment on my posts and videos! You all bring so much joy into my life. I get a surge of excitement every time I see a comment. I have learned so much from all of you scrappers out there in cyberland and I hope maybe you have learned something from me. I am not going anywhere and have some great things planned for the blog. So, keep reading, watching and scrapping with me!
As for today's videos I have the completed mini! I love how this turned out! Be sure to watch the update video showing how I had to change the closure! The snaps I used were purchased at Joann fabrics for $1.35. I really like how they look.
As for the giveaway, it closes at midnight, so get your comments or technique submissions in and the winner will be announced on September 1st! Thanks again for all of your wonderful comments. I am so glad people are learning and loving the grungeboard series! You all rock! Love ya!
Amy - A girl who loves her husband, crazy cat, scrapping, blogging and of course TV (television!).
These are the last techniques of the series. In tomorrow's video I will be putting together the cover and showing the completed mini.
First technique is the enamel. In the video you will see me rub the ink pad over only the embossed area. This is not actually correct. You can do it but to get the real enamel look just ink up the whole piece embossed parts and all. Then add embossing powder to piece and flick hard with your fingers. You will still see the embossed image but the embossing powder will be more messy and in other areas as well. this is what you want. Then heat emboss and add the dark brown ink. You will see that now you have a very rustic looking piece. Looks amazing in person. You can also do this on a tag with no dry embossing and it looks really cool an awesome background.
Next and last technique is stamping on grungeboard. Though this is one of the more simple and straight-forward techniques, it is also my favorite. I love how these mini backgrounds look. I thought it only appropriate to use the only Tim Holtz stamp set I own for this, Shabby French. I used distress inks in Fired Brick, Mustard Seed, Spiced Marmalade, Crushed Olive and Wild Honey.
Thank you so much for joining me and don't forget to join me tomorrow to see what I do with all of these pieces!
Faux metal is an awesome thing to do with grungeboard. You could make industrial flowers to add a masculine/feminine look to your projects. This technique is also great for any and all boy/manly projects. Really fun and also easy!
This technique can also be used with other colors of paint as well. You don't have to use just metallic paint. Using the different paints gives a shabby chic look to your project.
Hope you try out this technique and see you tomorrow for more grungy fun!
I only own two jars of crackle paint. One is Tattered Rose. The distress crackle paints all give a matte finish after they crack.
The other I own is the distress rock candy. This paint is a clear crack, which is great because you can add any color ink underneath or use over patterned paper. Very cool and versatile. This finish is glossy.
All you do is paint this stuff on and let it dry. That's it! The thicker the layer the bigger the cracks. Once it begins to crack you can hit it with a heat gun but it cracks better if you let it dry on it's own.
Second: Stickles
I first added glimmer mist the grungeboard with Red Velvet glimmer mist. Next I embossed the piece using the Retro Circles Texture fade embossing folder by Tim Holtz. I then added the Rock Candy Stickles over top. This also dries clear giving a very cool sugar sparkle. Love this stuff!
Today I get a bit messy. I am playing with multi mediums on grungeboard.
The first technique is a way of adding vintage pages to grungeboard. Now, you can use other adhesives to do this, however, this works best. What the multi-medium matte does is to adhere it down so it won't pull up on the edges over time. When I took the class with Tim Holtz, he told us that this is one of his favorite adhesives!
This is super simple. Just keep in mind that this medium becomes waterproof when it dries. This means that if you have inky hands and this medium dries over it - you have inky hands that are waterproof! Of course there are a ton of reasons why drying waterproof is exactly why to use it! Another tutorial for another time.
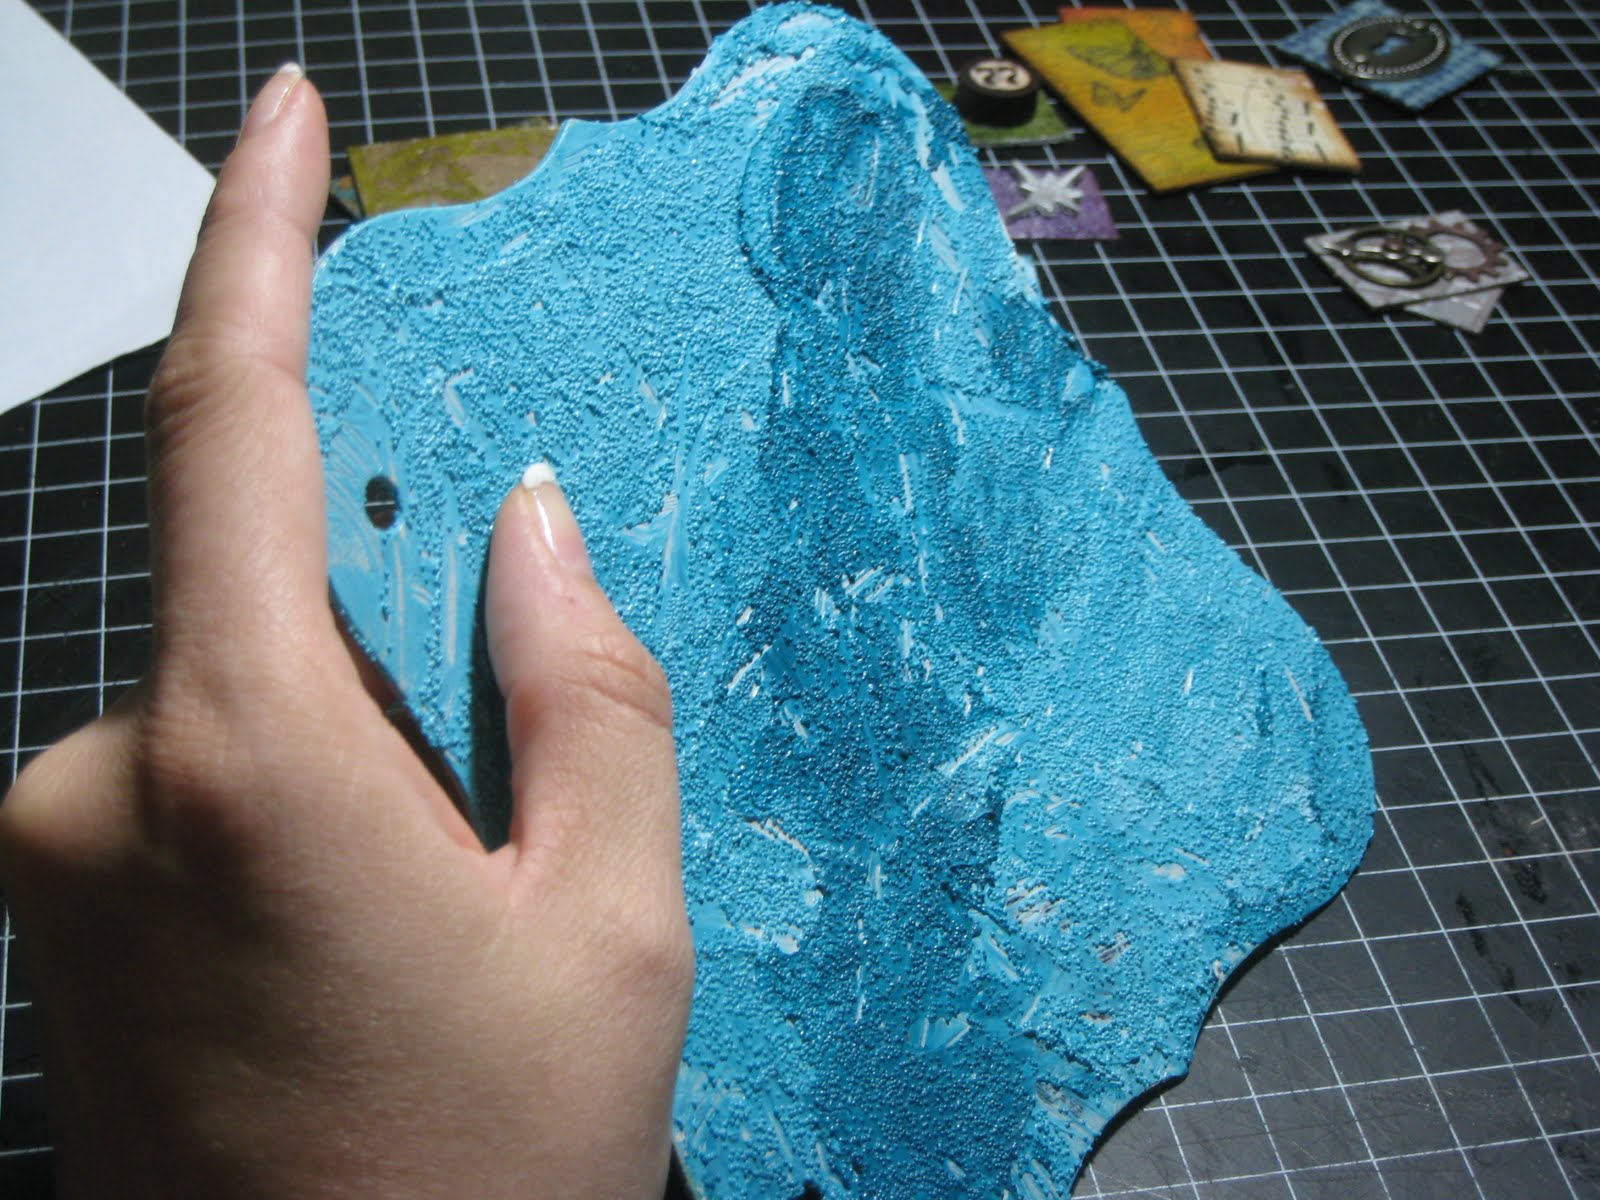
The next technique involves using Glass medium gel. This stuff is so awesome! It is a texture medium that adds tiny glass beads to you project. By itself it dries clear but you can add paint for a whole new look. When it is dried it is mailable and the glass beads are permanent. I added some ink to the grunge pieces then added the glass bead gel over top. When it dried it created amazing texture and shine. I highly recommend this product!
You can look at the pictures below to see how amazing this technique looks with paint mixed in the glass bead gel. I took a dollop and added Ranger Cloudy Blue paint to it. The I took another dollop and added Ranger Stream paint. I then took the cloudy blue and added it to the grungeboard page. I dragged the stream mixture through it. I LOVE how it turned out. Best part - it is simple. All you do is slap it on and let it dry...done! See you all back tomorrow for more grungy fun!!
PRODUCTS USED: Multi-Medium ~Claudine Hellmuth Multi-Medium Matte ~Distress Ink: Vintage Photo, Broken China ~1924 Vintage dictionary ~Vintage Accordion Music Paper
Glass Bead Gel ~Golden Glass bead Gel ~Distress Ink: Dusty Concord, Spiced Marmalade ~Ranger Paint Dabbers: Cloudy Blue, Stream
So, now let's get inky! Now we get to start having fun. I start out showing the differences in how chipboard and grungeboard take inks. I first compare them both using Glimmer Mist. I love how well grungeboard takes the mists. It doesn't warp or split, it is even coverage and did I mention it doesn't warp???
Next, I tried the Colorbox Fluid Chalk ink. I think both the chipboard and grunge took the ink about the same. I love how opaque this ink is!
Lastly I had to use the distress inks! I think they both took that very well too. You will notice I talked a bit about the texture of grunge. I love adding texture to a project so this is great for me. I am just trying to show the difference between chipboard and grunge because it's a question that I am often asked.
Now onto actual techniques!!! First up: Double Distress
This is super easy to do and looks Awesome! You can do this technique on cardstock as well. Start off by embossing your grungeboard. Then pick two colors of ink. Ink the grunge in the lighter of the two with a blending tool. Next, just drag the darker ink directly over top so only the raised portions get inked. You can do this with tone on tone colors, contrasting colors - the possibilities are endless! Just experiment and have fun! Note: After the video I added some chipped sapphire to the edges of the double distress page and added an embellishment to one of the grunge pieces.
The mini I am using is the Tim Holtz Grungeboard Bracket Book. It is Awesome!
Here are the other products I used in the videos: Inking Video: ~Tattered Angels Glimmer Mist: Red Velvet ~Colorbox Fluid Chalk Ink: Olive Pastel ~Ranger Distress Ink: Pine Needles ~Tim Holtz blending tool with foam
No, you are not seeing things, it is time for my Grungeboard Series! So, first let me tell you a bit about how this week will work. I will begin with an intro video explaining things and also a video about the basic differences between chipboard, grungeboard and grungepaper. Then, each day will have technique videos. Some days will have just one, some days, two. I will have pictures of all the completed pieces on my blog each day - just in case the video quality doesn't show them well enough. Bear with me in regards to the videos - I am not great at editing and some may not have intros or a goodbye but the goods are there! Any questions about them - please just leave me a comment or send me an e-mail at amyvlovestv@yahoo.com.
I would love it if you all try some of these techniques and leave a comment telling me where to find the pictures. Play along with me!
I will be demoing the techniques on pieces of grungeboard, all pieces are from the Plain shapes Grungeboard pack. These will all be combined into an awesome cover for a mini I am making about my Tim Holtz obsession. I will also be using some of these techniques on the pages of the mini along with Tim Holtz Lost and Found paper stack.
On August 31st, my birthday, I have a gift for you as well. I will share the prepped mini and also share my Blogiversary giveaway. this giveaway will only be for my Blog comments since it is a Blogiversary thing!
I hope you have as much fun with this series as I did making it. My hands are inky, are yours???
Here is the Basics Video as promised! See you tomorrow for some technique videos!
I am newly married and new to scrapbooking. Obsessed with learning new techniques and tips to help me become a crafty wiz! Here I will share what I learn and also talk about things that spark my passion!